Introduction
Heard your Safety First humidifier making odd noises or noticed a musty odor coming from it? You might be surprised to learn that these could be signs it’s due for a good cleaning. Over time, your humidifier can collect dust, minerals from the water, and even mold, which can affect both its performance and your air quality. But don’t worry—cleaning your Safety First humidifier is easier than you think. This guide will walk you through the step-by-step process, so you can keep your humidifier running smoothly and your air as fresh as it should be.
Why You Need to Clean Your Humidifier Regularly
Cleaning your humidifier isn’t just about making it look nice—it’s essential for keeping your air clean and healthy. Here’s why:
- Health Risks: When left uncleaned, humidifiers can become breeding grounds for mold, bacteria, and other allergens. These can then be released into the air, potentially causing respiratory issues, especially for kids, elderly family members, or anyone with asthma or allergies.
- Better Performance: A dirty humidifier doesn’t work as efficiently. The buildup of minerals, dust, and mold can reduce the amount of moisture it adds to the air, making it less effective in maintaining the humidity you need for comfort.
- Longer Lifespan: Regular cleaning helps prevent damage to the humidifier’s internal parts, so it lasts longer. It’s a small investment of time that could save you from replacing your humidifier sooner than necessary.
Step-by-Step Guide: How to Clean a Safety First Humidifier
Cleaning your Safety First humidifier might seem tricky, but it’s actually quite simple. Just follow these easy steps:
1. Gather Your Supplies
Before you start, make sure you have the following items:
- White vinegar (for disinfecting and removing mineral buildup)
- A small brush or an old toothbrush (to scrub hard-to-reach areas)
- A soft cloth or sponge
- Clean water
- Optional: hydrogen peroxide (for extra disinfection)
2. Disassemble the Humidifier
- Unplug your humidifier from the power source.
- Carefully remove the water tank and any other detachable parts, like the filter or nozzle.
- Set these parts aside for cleaning.
3. Empty and Rinse the Water Tank
- Pour out any water left in the tank.
- Rinse the tank thoroughly with clean water. Make sure to swish the water around to remove any loose particles or dust.
4. Clean the Tank with Vinegar
- Fill the tank about halfway with white vinegar. The vinegar works as a natural disinfectant and helps break down mineral deposits.
- Let the vinegar sit in the tank for about 30 minutes.
- After soaking, use a soft brush to scrub away any buildup or mold inside the tank. Pay special attention to corners and crevices where dirt can hide.
5. Scrub the Base and Parts
- Dip your brush or sponge in a mixture of water and vinegar, and gently scrub the base of the humidifier, focusing on any parts that come into contact with water.
- Be careful not to get electrical components wet.
6. Rinse and Wipe Down
- Thoroughly rinse all parts with clean water to remove any traces of vinegar.
- Wipe down the exterior and other pieces with a soft cloth to ensure there’s no moisture left.
7. Reassemble the Humidifier
- Once everything is dry, put the pieces back together. Your humidifier should now be spotless and ready for use!
Additional Tips for Cleaning Other Brands
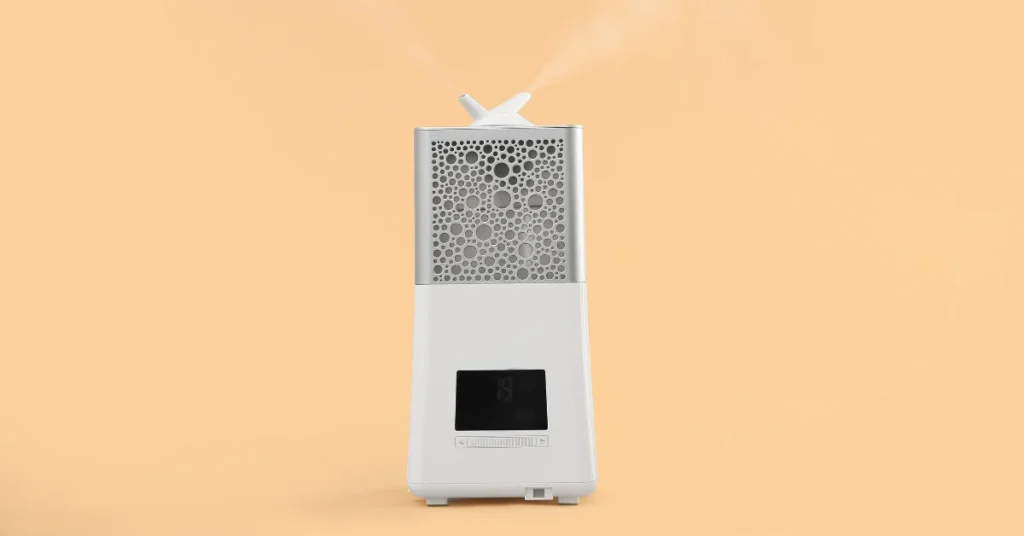
Every humidifier brand has its own quirks, but the basic cleaning principles stay the same. Here’s how to clean some of the most popular humidifier models, with tips tailored to each one:
How to Clean an Air Innovations Humidifier
- Disassembly: Air Innovations humidifiers often come with multiple parts, including a ceramic filter. Make sure you remove all detachable components.
- Cleaning: Clean the tank with a vinegar solution (one part vinegar to two parts water). For the ceramic filter, soak it in white vinegar for 30-60 minutes, then rinse thoroughly.
- Maintenance Tip: Air Innovations recommends replacing the ceramic filter every 6 months for optimal performance.
How to Clean a Honeywell Humidifier
- Disassembly: Remove the water tank and filter. Honeywell filters often need more attention, as they can trap a lot of dust and debris.
- Cleaning: Use a soft brush to scrub the inside of the tank and base. Soak the filter in cool water (never use vinegar on Honeywell filters). Let it air dry completely before reassembling.
- Maintenance Tip: Replace Honeywell filters regularly to avoid bacteria buildup and ensure efficient operation.
How to Clean an Everlasting Comfort Humidifier
- Disassembly: This brand features a large-capacity tank, making cleaning straightforward. Remove all detachable parts, including the mist nozzle.
- Cleaning: Clean the tank with a mixture of vinegar and water. Be sure to clean the nozzle and small parts with a brush to prevent clogs.
- Maintenance Tip: Run the humidifier with distilled water to reduce mineral buildup over time.
How to Clean a Relion Humidifier
- Disassembly: Relion humidifiers are often compact, making them easy to take apart. Remove the tank, base, and filter.
- Cleaning: Wash the tank and base with a vinegar solution. For the filter, rinse it in cool water without using any chemicals, and allow it to dry thoroughly.
- Maintenance Tip: Clean the humidifier once a week to avoid any buildup.
How to Clean a Canopy Humidifier
- Disassembly: Canopy humidifiers are designed for easy cleaning with dishwasher-safe parts. Remove the tank, tray, and any other parts labeled as dishwasher-friendly.
- Cleaning: Either pop the parts into the dishwasher or clean manually with mild soap and water. Vinegar can be used for deeper cleans.
- Maintenance Tip: Use Canopy’s UV light feature, if available, to help prevent mold growth between cleanings.
How to Clean a Boneco Humidifier
- Disassembly: Boneco humidifiers often have filters or water-softening cartridges that need to be removed before cleaning.
- Cleaning: Soak the water tank and filter in a vinegar solution for about 30 minutes. Rinse thoroughly afterward. If your model has a cartridge, clean it with cold water only.
- Maintenance Tip: Replace the water-softening cartridge as recommended to prevent mineral buildup.
How to Clean a Vitruvi Humidifier
- Disassembly: Vitruvi humidifiers are aesthetically pleasing and straightforward to disassemble. Remove the water tank and lid.
- Cleaning: Clean with a solution of vinegar and water. For the smaller components, like the mist spout, use a small brush to ensure nothing is clogged.
- Maintenance Tip: Vitruvi recommends cleaning the humidifier every week to maintain optimal performance and avoid mold.
Each humidifier brand may have its own specific cleaning needs, but with these tips, you’ll be prepared to keep them all running smoothly!
How Often Should You Clean Your Humidifier?
Keeping a clean humidifier isn’t just a one-time task—it’s something that should become part of your routine. So, how often should you clean it? Here’s a simple breakdown:
Daily Rinsing
- Empty and Rinse: After each use, it’s a good idea to empty the water tank and rinse it with clean water. This helps to prevent bacteria and mold from starting to grow.
- Dry the Parts: Let the tank and base air dry completely before refilling it. Keeping moisture trapped inside can lead to unwanted buildup over time.
Weekly Deep Clean
- Full Cleaning Routine: Once a week, follow the detailed cleaning process we went over earlier—scrubbing the tank, base, and any detachable parts with a vinegar solution. This keeps the humidifier in top shape and prevents mineral deposits and bacteria from taking hold.
Monthly Filter Check
- If your humidifier has a filter (like many Safety First, Honeywell, and Boneco models), check it once a month. Filters can become clogged with dust or minerals, and cleaning or replacing them regularly is essential for maintaining efficiency.
Signs Your Humidifier Needs Cleaning Sooner
- Unpleasant Smell: If your humidifier is giving off a musty or strange odor, that’s a surefire sign it needs a clean ASAP.
- Visible Buildup: Notice any white residue or mold inside the tank? That’s mineral buildup or mildew, and it should be cleaned immediately.
- Reduced Performance: If the mist output seems weaker than usual, it might be clogged or dirty.
By sticking to this schedule, you’ll keep your humidifier running efficiently and your air fresh. Remember, regular maintenance is the key to a long-lasting, healthy humidifier!
Common Mistakes to Avoid When Cleaning Your Humidifier
While cleaning a humidifier is pretty straightforward, there are some common mistakes that can reduce its effectiveness or even damage the unit. Let’s make sure you avoid these:
1. Using Harsh Chemicals
It might be tempting to grab a strong cleaner to tackle tough grime, but harsh chemicals like bleach can leave harmful residues. Instead, stick with natural solutions like white vinegar or mild soap, which are safe and effective.
2. Forgetting to Clean All the Parts
Don’t just focus on the water tank. The base, mist nozzle, and filter are equally important parts of your humidifier and need attention too. Bacteria and mold can hide in these areas, even if the tank looks clean.
3. Skipping the Filter
Many humidifiers come with filters, especially brands like Honeywell or Relion. Skipping the filter can lead to bacteria buildup, bad odors, and poor mist output. Make sure to either clean the filter regularly (if washable) or replace it as directed by the manufacturer.
4. Leaving Water in the Tank
When water sits in the tank for too long, it creates the perfect environment for mold and bacteria. Always empty your humidifier after each use and dry the parts thoroughly before refilling.
5. Not Using Distilled Water
If possible, use distilled or filtered water in your humidifier. Tap water contains minerals that can leave white residue (also known as scale) inside the tank and base. These minerals not only affect the humidifier’s efficiency but also lead to faster wear and tear.
6. Not Cleaning Often Enough
It’s easy to forget about cleaning when your humidifier seems to be working fine. But even if it looks clean, harmful mold and bacteria can build up inside. Stick to a regular cleaning schedule to ensure safe and efficient use.
By avoiding these common mistakes, you’ll extend the life of your humidifier and keep your air as clean as possible!
How to Keep Your Humidifier Mold-Free Between Cleanings
Cleaning your humidifier regularly is essential, but there are a few easy steps you can take to keep it mold-free between cleanings. These tips will help you prevent buildup and maintain fresh, healthy air in your home.

1. Use Distilled Water
As mentioned before, using distilled or demineralized water in your humidifier is one of the best ways to prevent mineral deposits and white residue, which can contribute to mold growth. Tap water contains minerals that can leave behind a film that promotes mold and bacteria, so distilled water is a cleaner alternative.
2. Empty the Water Tank Daily
After each use, empty out any remaining water in the tank. Mold thrives in stagnant water, so by emptying and drying the tank daily, you remove the moisture that mold needs to grow. Be sure to wipe down the interior of the tank with a dry cloth before storing or refilling it.
3. Keep the Humidifier in a Dry, Well-Ventilated Area
When not in use, store your humidifier in a dry place where air can circulate. Avoid leaving it in areas prone to humidity, like bathrooms or damp basements, where moisture could linger and encourage mold.
4. Use a Humidifier Cleaning Ball or Drops
Some brands sell humidifier cleaning accessories, like antibacterial cleaning balls or liquid drops that can be added to the water tank. These can help prevent bacteria and mold from forming between deep cleanings, offering an extra layer of protection.
5. Avoid Over-Humidifying
Running your humidifier non-stop or on a high setting can increase the humidity level in your home to unhealthy levels, which in turn promotes mold growth on surfaces. Use a hygrometer to monitor humidity and aim for a comfortable level between 30-50%.
6. Keep the Filter Clean
If your humidifier has a filter, make sure to rinse or replace it as recommended by the manufacturer. A dirty filter can trap moisture, leading to mold buildup. Keeping it clean will also ensure that the humidifier works properly.
By following these simple steps, you’ll keep your humidifier mold-free and in top condition between deep cleanings.
Conclusion
Maintaining a clean humidifier is crucial for ensuring the air you and your family breathe is safe and healthy. With regular cleaning, you can prevent mold, bacteria, and mineral buildup that could compromise the performance of your humidifier and the quality of your indoor air. Whether you have a Safety First humidifier or one from another popular brand, the simple steps outlined in this guide will help you keep your device running efficiently for the long haul.
Don’t forget—regular maintenance doesn’t have to be time-consuming. A quick daily rinse, a weekly deep clean, and a few preventive measures can make a big difference in both the lifespan of your humidifier and the quality of air in your home.
