Introduction
Ever noticed your dehumidifier isn’t working as efficiently as it used to? It might be time to clean the filter! Dehumidifiers work hard to keep the air in your home fresh and moisture-free, but over time, dirt, dust, and even mold can build up in the filter, reducing its performance. Neglecting this simple task could lead to poor air quality and shorten your appliance’s lifespan.
In this guide, we’ll show you how to clean a dehumidifier filter step by step. Whether you have a GE, Frigidaire, or Hisense model, we’ve got brand-specific tips to make the job easy. Plus, we’ll share essential advice on cleaning other parts like the bucket and coils to ensure your dehumidifier runs smoothly for years to come.
Ready to restore your dehumidifier to peak performance? Let’s get started!
Why Cleaning a Dehumidifier Filter is Essential
Keeping your dehumidifier filter clean is more than just a maintenance task—it’s key to ensuring the air you breathe stays fresh and healthy. Here’s why cleaning your filter regularly matters:
1. Prevents Mold and Bacteria Buildup
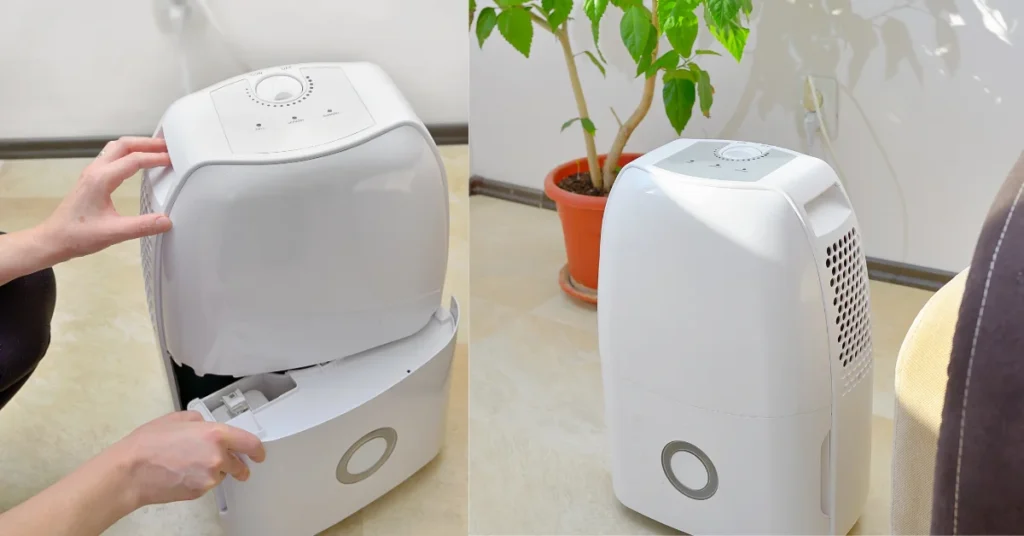
Your dehumidifier works by pulling moisture from the air, but that same moisture can cause mold and bacteria to thrive on a dirty filter. A clogged or dirty filter can end up recirculating these harmful particles back into your home, affecting air quality and potentially leading to health issues like allergies or respiratory problems.
2. Maintains Efficiency and Extends the Appliance’s Lifespan
A clean filter allows your dehumidifier to run efficiently, meaning it doesn’t have to work overtime to do its job. When filters are clogged, the appliance strains, consuming more energy and risking overheating or breakdowns. Regular cleaning reduces wear and tear, helping your dehumidifier last longer and save on energy bills.
3. Improves Air Quality and Reduces Allergens
For those with allergies or asthma, a dirty filter can make symptoms worse by circulating dust, pet dander, and other allergens. By cleaning your filter, you help ensure that your dehumidifier removes these particles from the air, improving overall indoor air quality.
Step-by-Step Guide to Cleaning a Dehumidifier Filter (Universal Instructions)
Cleaning your dehumidifier filter is a simple process that can make a world of difference in its performance. Follow these steps to ensure you’re doing it right:
1. Turn Off and Unplug the Dehumidifier
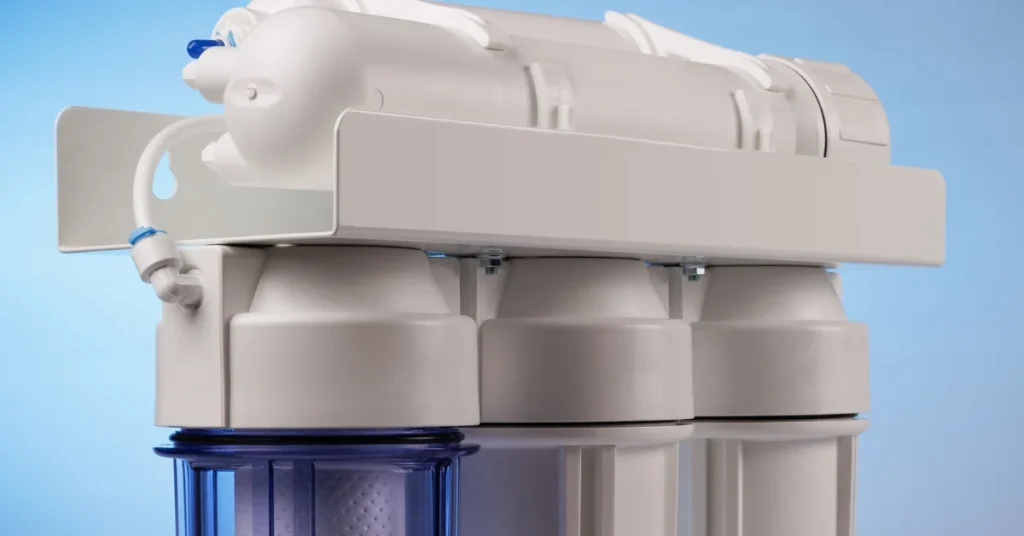
Safety first! Before cleaning, always turn off the dehumidifier and unplug it from the power source to avoid any electrical accidents.
2. Remove the Filter
Locate the filter on your dehumidifier. Most models have a filter located near the air intake. Check your user manual if you’re unsure of its exact location. Gently slide or lift the filter out of its compartment.
3. Clean the Filter
There are a few different ways to clean your filter, depending on how dirty it is:
- For light dust and debris: Use a vacuum cleaner with a brush attachment to gently remove dust and dirt from the filter.
- For heavier buildup: Wash the filter under warm running water. You can also use a mild detergent to remove any stubborn dirt or mold. Be sure to scrub gently so you don’t damage the filter material.
4. Let the Filter Dry Completely
Once the filter is clean, shake off excess water and let it air dry completely. This step is crucial—never reinsert a damp filter into your dehumidifier, as it could lead to mold growth or damage the machine.
5. Reinsert the Filter
Once the filter is fully dry, slide or snap it back into place. Make sure it’s securely in position before plugging the dehumidifier back in.
6. Clean Regularly
A good rule of thumb is to clean your dehumidifier filter every two weeks, or more frequently if you use the dehumidifier in a particularly humid or dusty environment.
How to Clean a GE Dehumidifier Filter
GE dehumidifiers are known for their efficiency, but like any other brand, they require regular maintenance to stay in top shape. Cleaning the filter is straightforward, but there are a few unique steps to follow for GE models.
1. Turn Off and Unplug the GE Dehumidifier
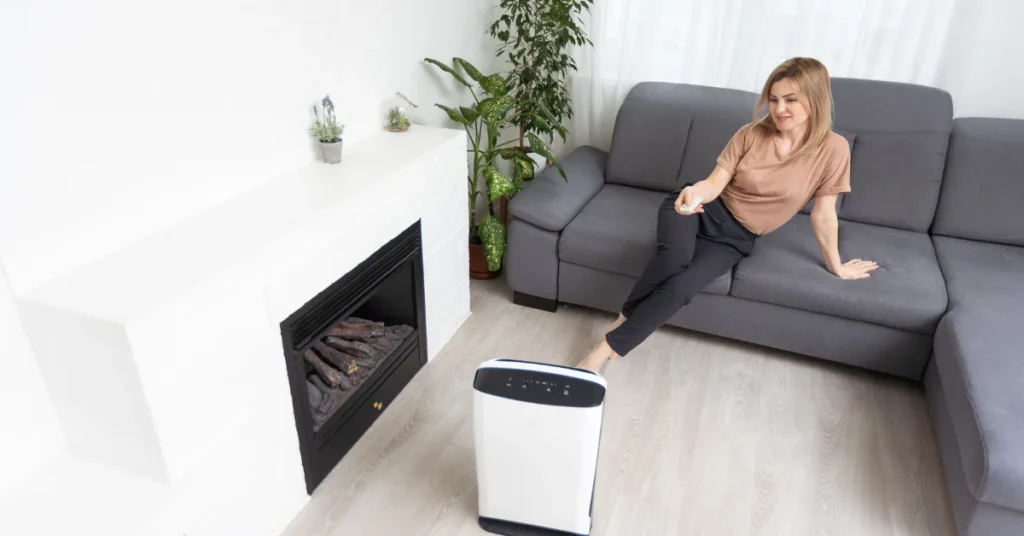
As with any electrical appliance, safety is key. Make sure the dehumidifier is turned off and unplugged before proceeding.
2. Locate and Remove the Filter
On most GE dehumidifier models, the filter is located behind the front grille or near the air intake. Check your model’s user manual if needed. Simply pull the filter out of the compartment.
3. Clean the Filter
- Light Cleaning: Use a soft vacuum brush attachment to remove dust and debris.
- Deep Cleaning: Rinse the filter under warm water and use a soft cloth or brush with mild soap to scrub away dirt and grime. Avoid using harsh chemicals, as they can damage the filter.
4. Let the Filter Dry Completely
Once cleaned, place the filter in a well-ventilated area and allow it to dry completely. This may take a few hours, so be patient.
5. Reinsert the Filter
Slide the dry filter back into the designated slot. Make sure it’s securely in place before you plug the dehumidifier back in.
6. How to Change the Filter on a GE Dehumidifier
Some GE models come with replaceable filters. If your filter is beyond cleaning or damaged, you can easily replace it. GE replacement filters are available online or at home improvement stores. Follow the same steps above to remove the old filter and replace it with a new one.
How to Clean a Frigidaire Dehumidifier Filter
Frigidaire dehumidifiers are popular for their durability and ease of use. Here’s how to clean the filter on your Frigidaire model:
1. Turn Off and Unplug the Frigidaire Dehumidifier
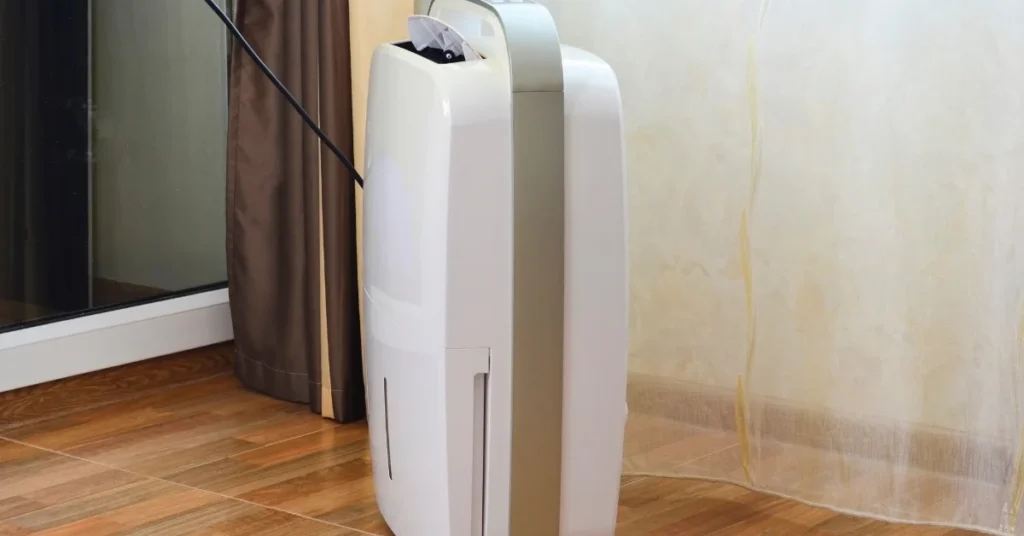
Always make sure the unit is off and unplugged to avoid any electrical mishaps.
2. Remove the Filter
Most Frigidaire dehumidifiers have a filter located behind the front panel. Open the panel and carefully remove the filter by sliding it out.
3. Clean the Filter
- Vacuum Method: Use a vacuum cleaner with a soft brush attachment to remove dirt and dust.
- Washing Method: If the filter is particularly dirty, rinse it under warm water and use a soft brush with a small amount of mild detergent. Avoid scrubbing too hard as it may damage the filter.
4. Dry the Filter
Lay the filter flat and let it air dry completely. Make sure it is fully dry before reinserting it into the dehumidifier to avoid mold growth.
5. Reinsert the Filter
Once dry, insert the filter back into its slot and close the front panel. Make sure everything is secure before plugging the unit back in.
How to Clean a Hisense Dehumidifier Filter
Hisense dehumidifiers are designed for ease of maintenance, including filter cleaning. Here’s how to clean your Hisense model:
1. Turn Off and Unplug the Hisense Dehumidifier
Before you start, ensure that the dehumidifier is turned off and unplugged from the wall.
2. Locate and Remove the Filter
On Hisense dehumidifiers, the filter is typically located behind the front or side panel. Open the panel and gently slide the filter out.
3. Clean the Filter
- Vacuuming: Use a soft vacuum brush to clean light dust from the filter.
- Washing: If the filter is heavily soiled, rinse it under running water and gently scrub with a mild detergent if necessary. Be sure to avoid harsh scrubbing.
4. Let the Filter Dry
Allow the filter to air dry completely. This ensures no moisture remains, which can cause issues inside the unit.
5. Reinsert the Filter
Once dry, slide the filter back into place. Make sure the panel is securely closed before you turn the dehumidifier back on.
How to Clean Other Parts of a Dehumidifier
While the filter is a crucial component, other parts of your dehumidifier also need attention to keep the unit running efficiently. Here’s how to clean the dehumidifier bucket, coils, tank, and reservoir:
1. How to Clean a Dehumidifier Bucket
The dehumidifier bucket collects water that the appliance pulls from the air. Over time, mold, mildew, and mineral deposits can build up.
Steps to Clean:
- Remove the Bucket: Slide the bucket out of the dehumidifier.
- Wash with Warm Water and Soap: Use warm, soapy water and a soft sponge or cloth to scrub the inside of the bucket. For tougher stains, you can use white vinegar or a mild bleach solution.
- Rinse and Dry: Rinse the bucket thoroughly with clean water to remove any soap or residue. Let it air dry or wipe it dry with a clean towel before reinserting it into the dehumidifier.
2. How to Clean the Coils on a Dehumidifier
The coils on your dehumidifier play a key role in the dehumidification process, but they can collect dust and grime, reducing efficiency.
Steps to Clean:
- Turn Off and Unplug the Dehumidifier: Always ensure safety first.
- Access the Coils: Depending on your model, you may need to remove a panel to access the coils. Check the user manual for specific instructions.
- Vacuum the Coils: Use a vacuum with a soft brush attachment to gently clean dust from the coils. Be careful not to bend or damage them.
- Use a Coil Cleaner (Optional): If the coils are particularly dirty, you can use a commercial coil cleaner. Follow the product’s instructions carefully.
3. How to Clean a Dehumidifier Tank or Reservoir
The tank (or reservoir) collects water before it gets drained, and like the bucket, it can develop mold or mineral buildup.
Steps to Clean:
- Remove the Tank/Reservoir: Locate the tank and slide it out.
- Clean with Soapy Water: Wash the tank with warm, soapy water using a soft brush or sponge. For mineral deposits, a vinegar solution works well.
- Rinse and Dry: Rinse the tank thoroughly to remove any cleaning agents. Allow it to dry completely before reattaching.
Maintenance Tips to Extend the Lifespan of Your Dehumidifier
Regular cleaning is essential, but there are additional maintenance steps you can take to keep your dehumidifier running efficiently and prolong its lifespan. Here are some key tips:
1. Clean the Filter Regularly
As mentioned earlier, cleaning the filter every two weeks or more frequently, depending on your usage, is critical for efficient operation. If you live in a particularly dusty or humid environment, you might need to clean it more often.
2. Empty and Clean the Water Bucket Daily
The water bucket should be emptied after each use, especially if you’re using the dehumidifier in a highly humid area. This prevents mold and mildew from growing inside. Additionally, cleaning the bucket with warm water and soap once a week helps keep it fresh.
3. Inspect and Clean the Coils
The coils inside your dehumidifier should be checked every few months for dust or frost buildup. If frost starts accumulating on the coils, your dehumidifier may be running too long or in temperatures that are too low for it to function properly. Clean the coils as outlined earlier and ensure that the dehumidifier is used in a well-ventilated space.
4. Check for Leaks and Unusual Noises
If your dehumidifier starts leaking water or making strange noises, it’s a sign that something isn’t right. Check the hoses, tank, and filter to ensure there are no cracks, clogs, or blockages. Addressing small issues early can prevent bigger (and more expensive) problems down the road.
5. Store the Dehumidifier Properly
If you don’t plan to use your dehumidifier for a while, make sure to store it correctly:
- Clean All Parts: Before storing the unit, clean the filter, bucket, and coils.
- Keep in a Dry Place: Store the dehumidifier in a cool, dry place to avoid any mold or mildew buildup.
- Cover It: Consider covering the dehumidifier with a cloth or plastic sheet to prevent dust from settling on it during storage.
6. Replace Filters as Needed
If your dehumidifier uses a replaceable filter, be sure to change it as recommended by the manufacturer. For example, some GE models require filter replacement after a certain number of hours of operation. Check your user manual for guidelines.
Conclusion
Keeping your dehumidifier in top condition doesn’t have to be a chore. Regularly cleaning the filter, bucket, coils, and other components not only improves the air quality in your home but also ensures your dehumidifier runs efficiently for years to come. Whether you own a GE, Frigidaire, or Hisense dehumidifier, following these simple steps can make a big difference in performance.
By taking just a few minutes every couple of weeks to clean your dehumidifier, you’ll prevent mold and bacteria buildup, reduce allergens, and avoid costly repairs. Remember, a well-maintained dehumidifier not only protects your home from excess moisture but also helps keep your air fresh and healthy.So, the next time you notice your dehumidifier isn’t working as well as it used to, don’t panic—just give the filter and other parts a good clean! And if you found this guide helpful, don’t forget to subscribe for more home care tips, share this article with your friends, or bookmark it for future reference.
